Download and install Java:
Set Up Java: Follow these simple steps to set up Java on your system:
Download the Java Development Kit (JDK):
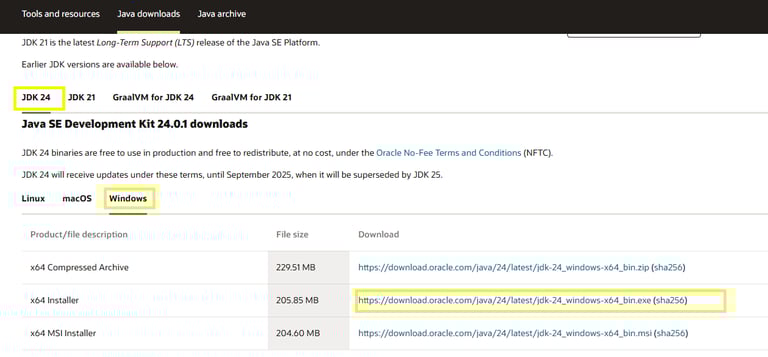
Navigate to the official Java website (https://www.oracle.com/java/technologies/downloads/)
Choose the JDK version (Choose the current latest version. As of now, the current latest version is JDK 24)
Choose your operating system (Linux/macOS/Windows)
Choose the installer Type (Zip file /exe /msi)
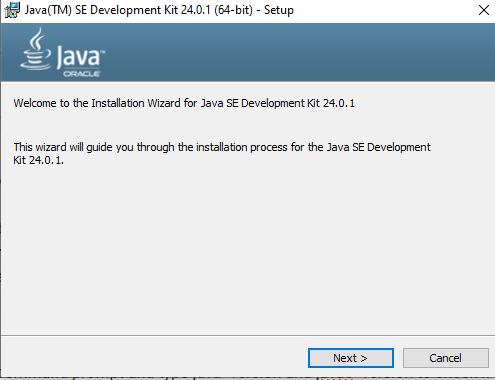
Run the Installation Wizard:
Once the download is complete, launch the installer from Downloaded location
2. Click 'YES' to allow the JDK to begin installation.
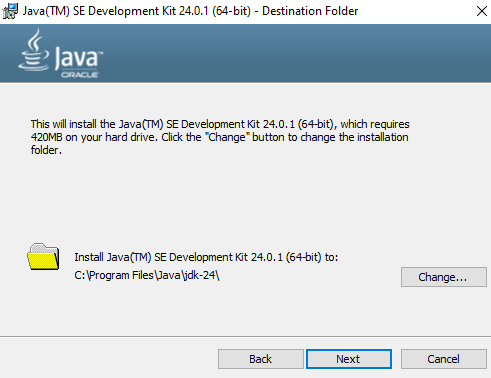
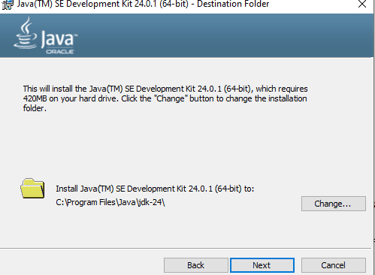
3. Click 'Next'
4. Select your preferred installation directory - Click 'change' to change the default installation directory (if needed) or Click 'Next' to proceed with default directory
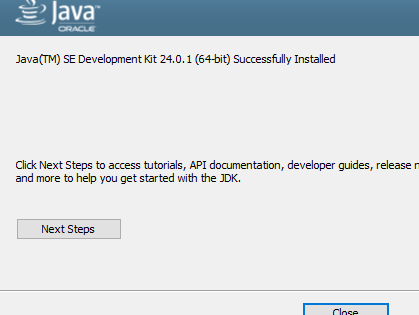
5. Click on 'Close'. Now the Installation is finished
3. Configure Environment Variables (Recommended):
Windows Users:
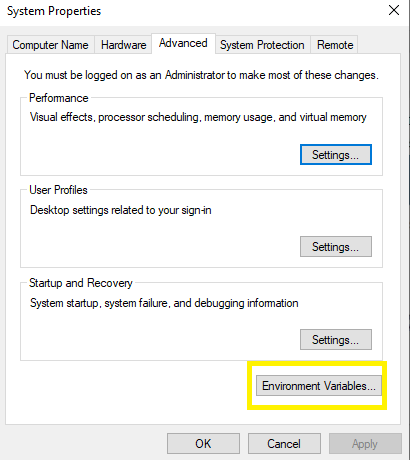
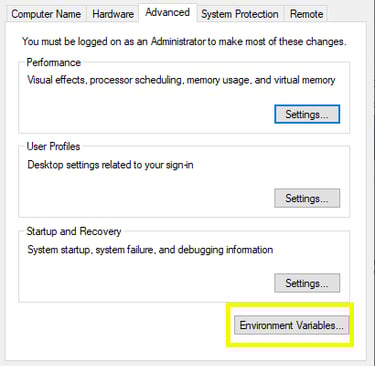
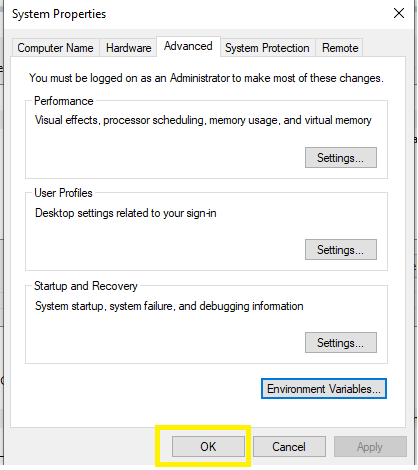
Open "System Properties" and Click on "Environment Variables"
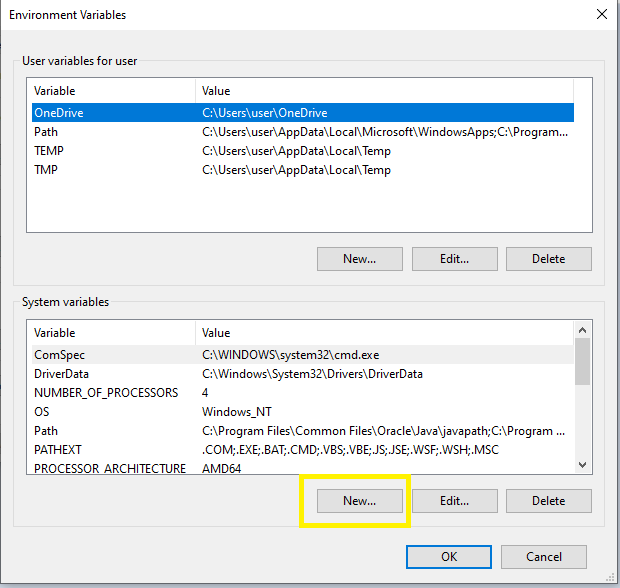
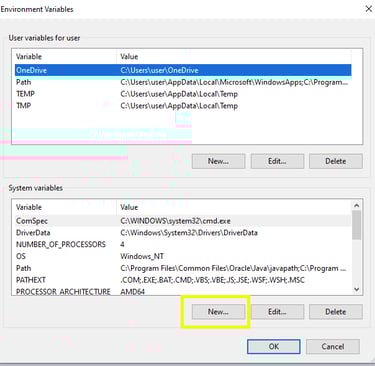
Click on "New" in System variables
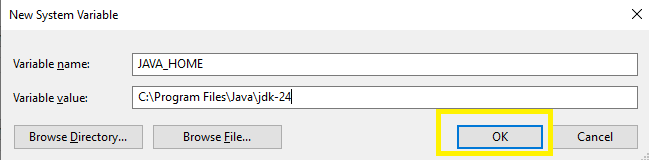


Enter Variable Name as "JAVA_HOME" and Variable Value as Location where JDK is installed and Click on "OK"
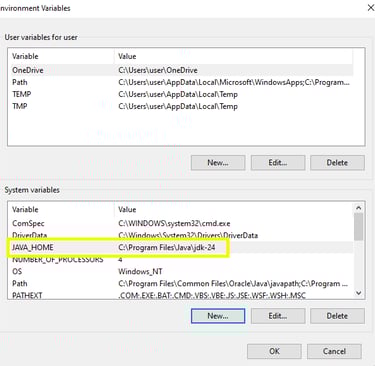
Verify JAVA_HOME is set in the system Variables
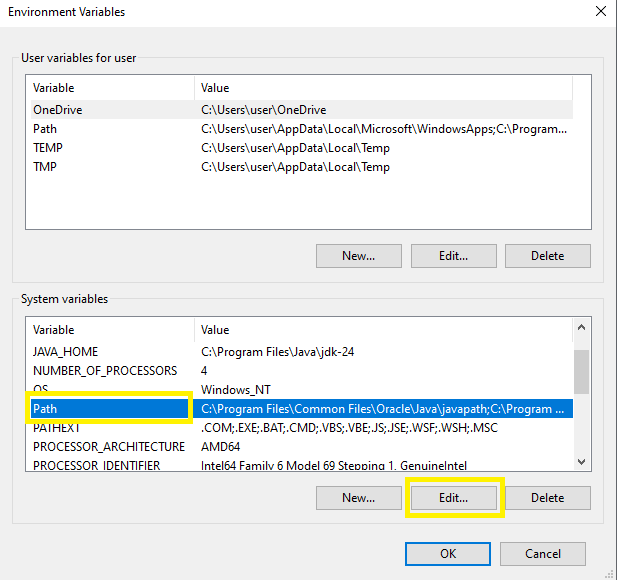
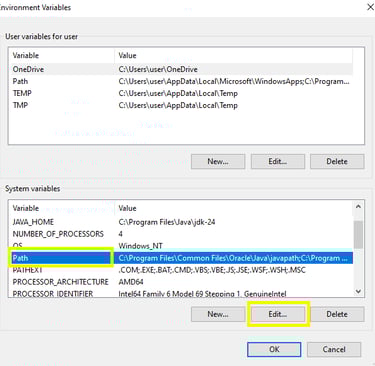
Select Path variable and click on "Edit"
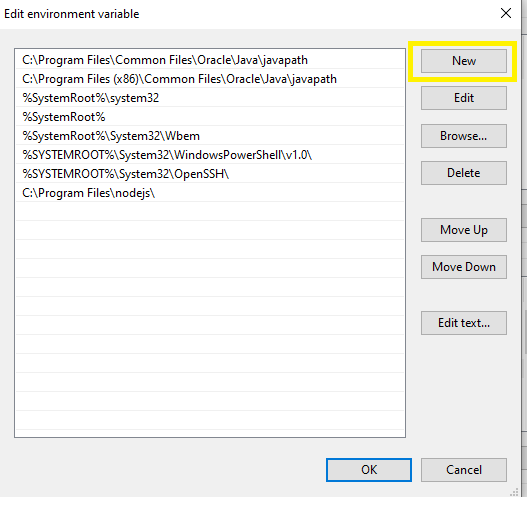
Click on "New"
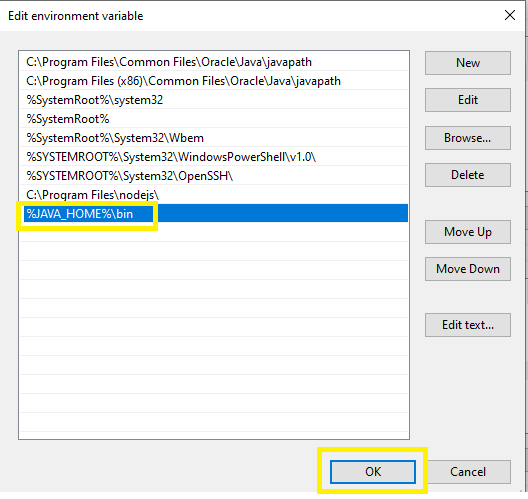
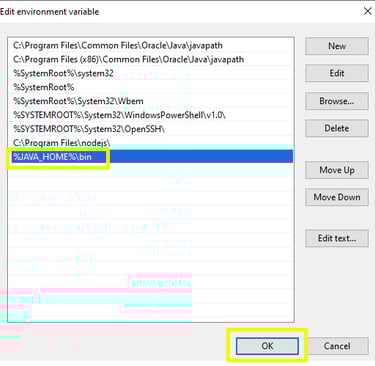
Enter the JAVA_HOME Path "%JAVA_HOME%\bin" and Click "OK"
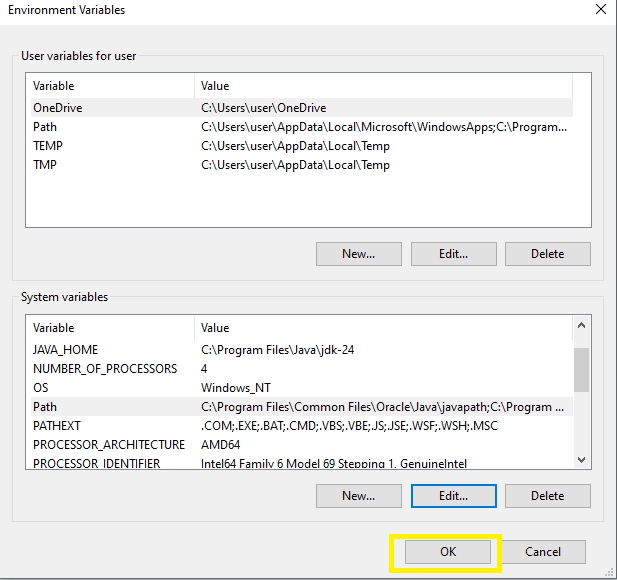
Click "OK" on Environment Variables
Click "OK" on System Variables
Now the Configuration to set Java Path is completed.
To Configure in macOS/Linux: Open your shell configuration file (e.g., .bashrc or .zshrc) and add export JAVA_HOME=/path/to/jdk and export PATH=$JAVA_HOME/bin:$PATH
4. Verify the Installation: Open a terminal or command prompt and type java -version and javac -version to check if Java has been installed correctly.
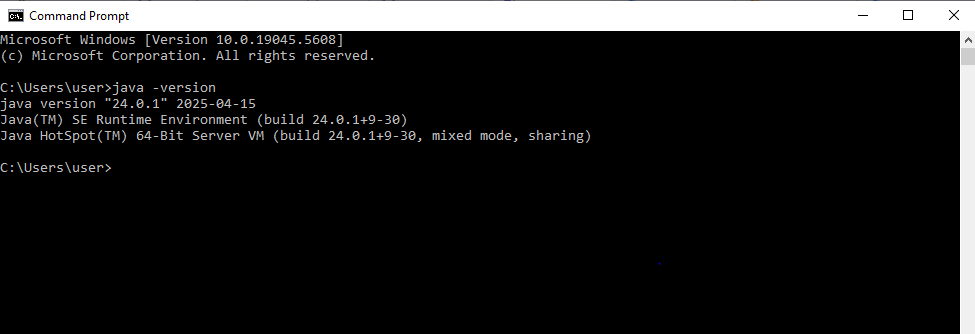
If Java version is displayed correctly then Java Set up is completed
LearnQATesting has transformed my understanding of QA tools and techniques. The insights and resources offered here are invaluable for anyone looking to enhance their skills.
Jamie Smith

★★★★★