How to Install Eclipse: A Step-by-Step Guide
Eclipse is a popular IDE (Integrated Development Environment) used for coding in various programming languages. Follow these steps to install Eclipse on your system:
Download Eclipse Installer
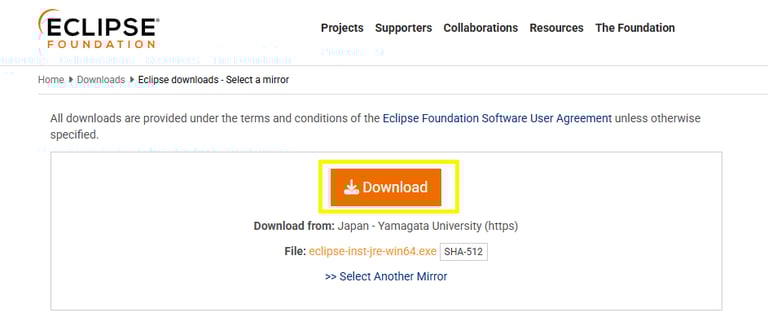
Visit the official Eclipse website (https://www.eclipse.org/downloads/)
Click on 'Download' under eclipse IDE Package and select the version
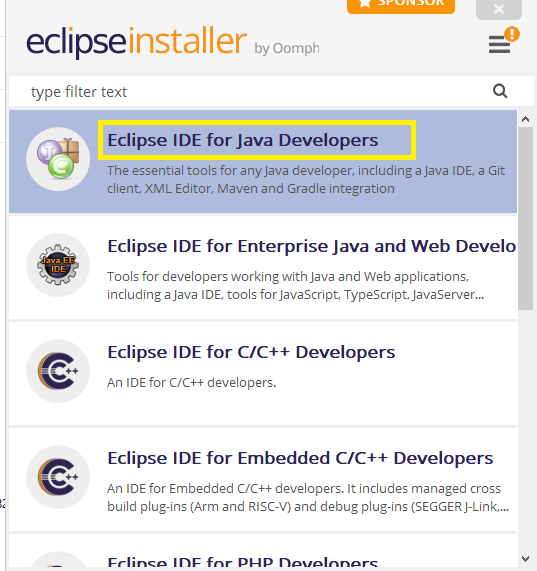
Choose Your Package Select the Eclipse package that suits your needs, such as "Eclipse IDE for Java Developers" or another option tailored to your work.


Click on 'Download'
Run the Installer:
Once the download is complete, open the installer file from downloaded location. On Windows, it will typically be an .exe file, while macOS/Linux users may need to unzip the file first.

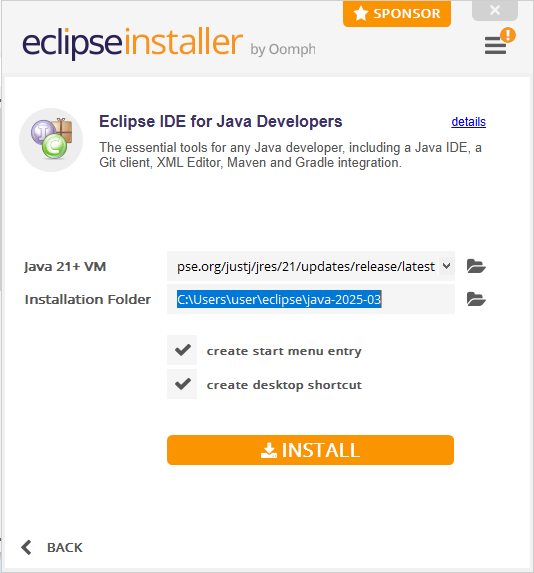
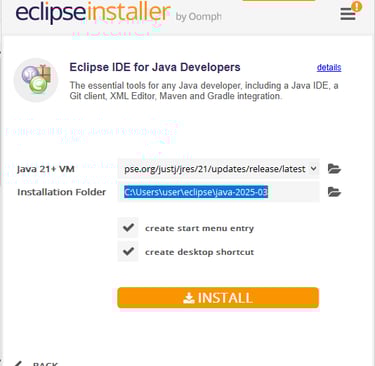
Select Installation Directory and Start Installation:
Pick a folder where Eclipse will be installed - you can stick with the default location or specify a custom directory.
Click "Install" to begin.
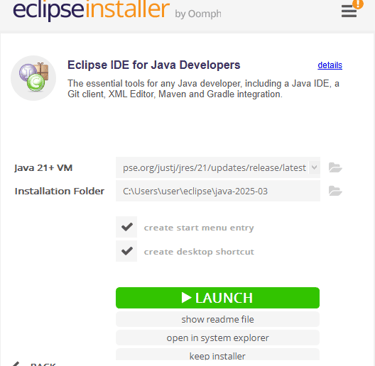
Launch Eclipse Once installed, you can launch Eclipse directly from the installer or from its shortcut on your system.

LearnQATesting has transformed my understanding of QA tools and techniques. The insights and resources offered here are invaluable for anyone looking to enhance their skills.
Jamie Smith

★★★★★